
Search & the index
Mac Explorer keeps its own index of the folders you choose. Search ranks the file you meant first and keeps build output out of your results.
Searching with ⌘K
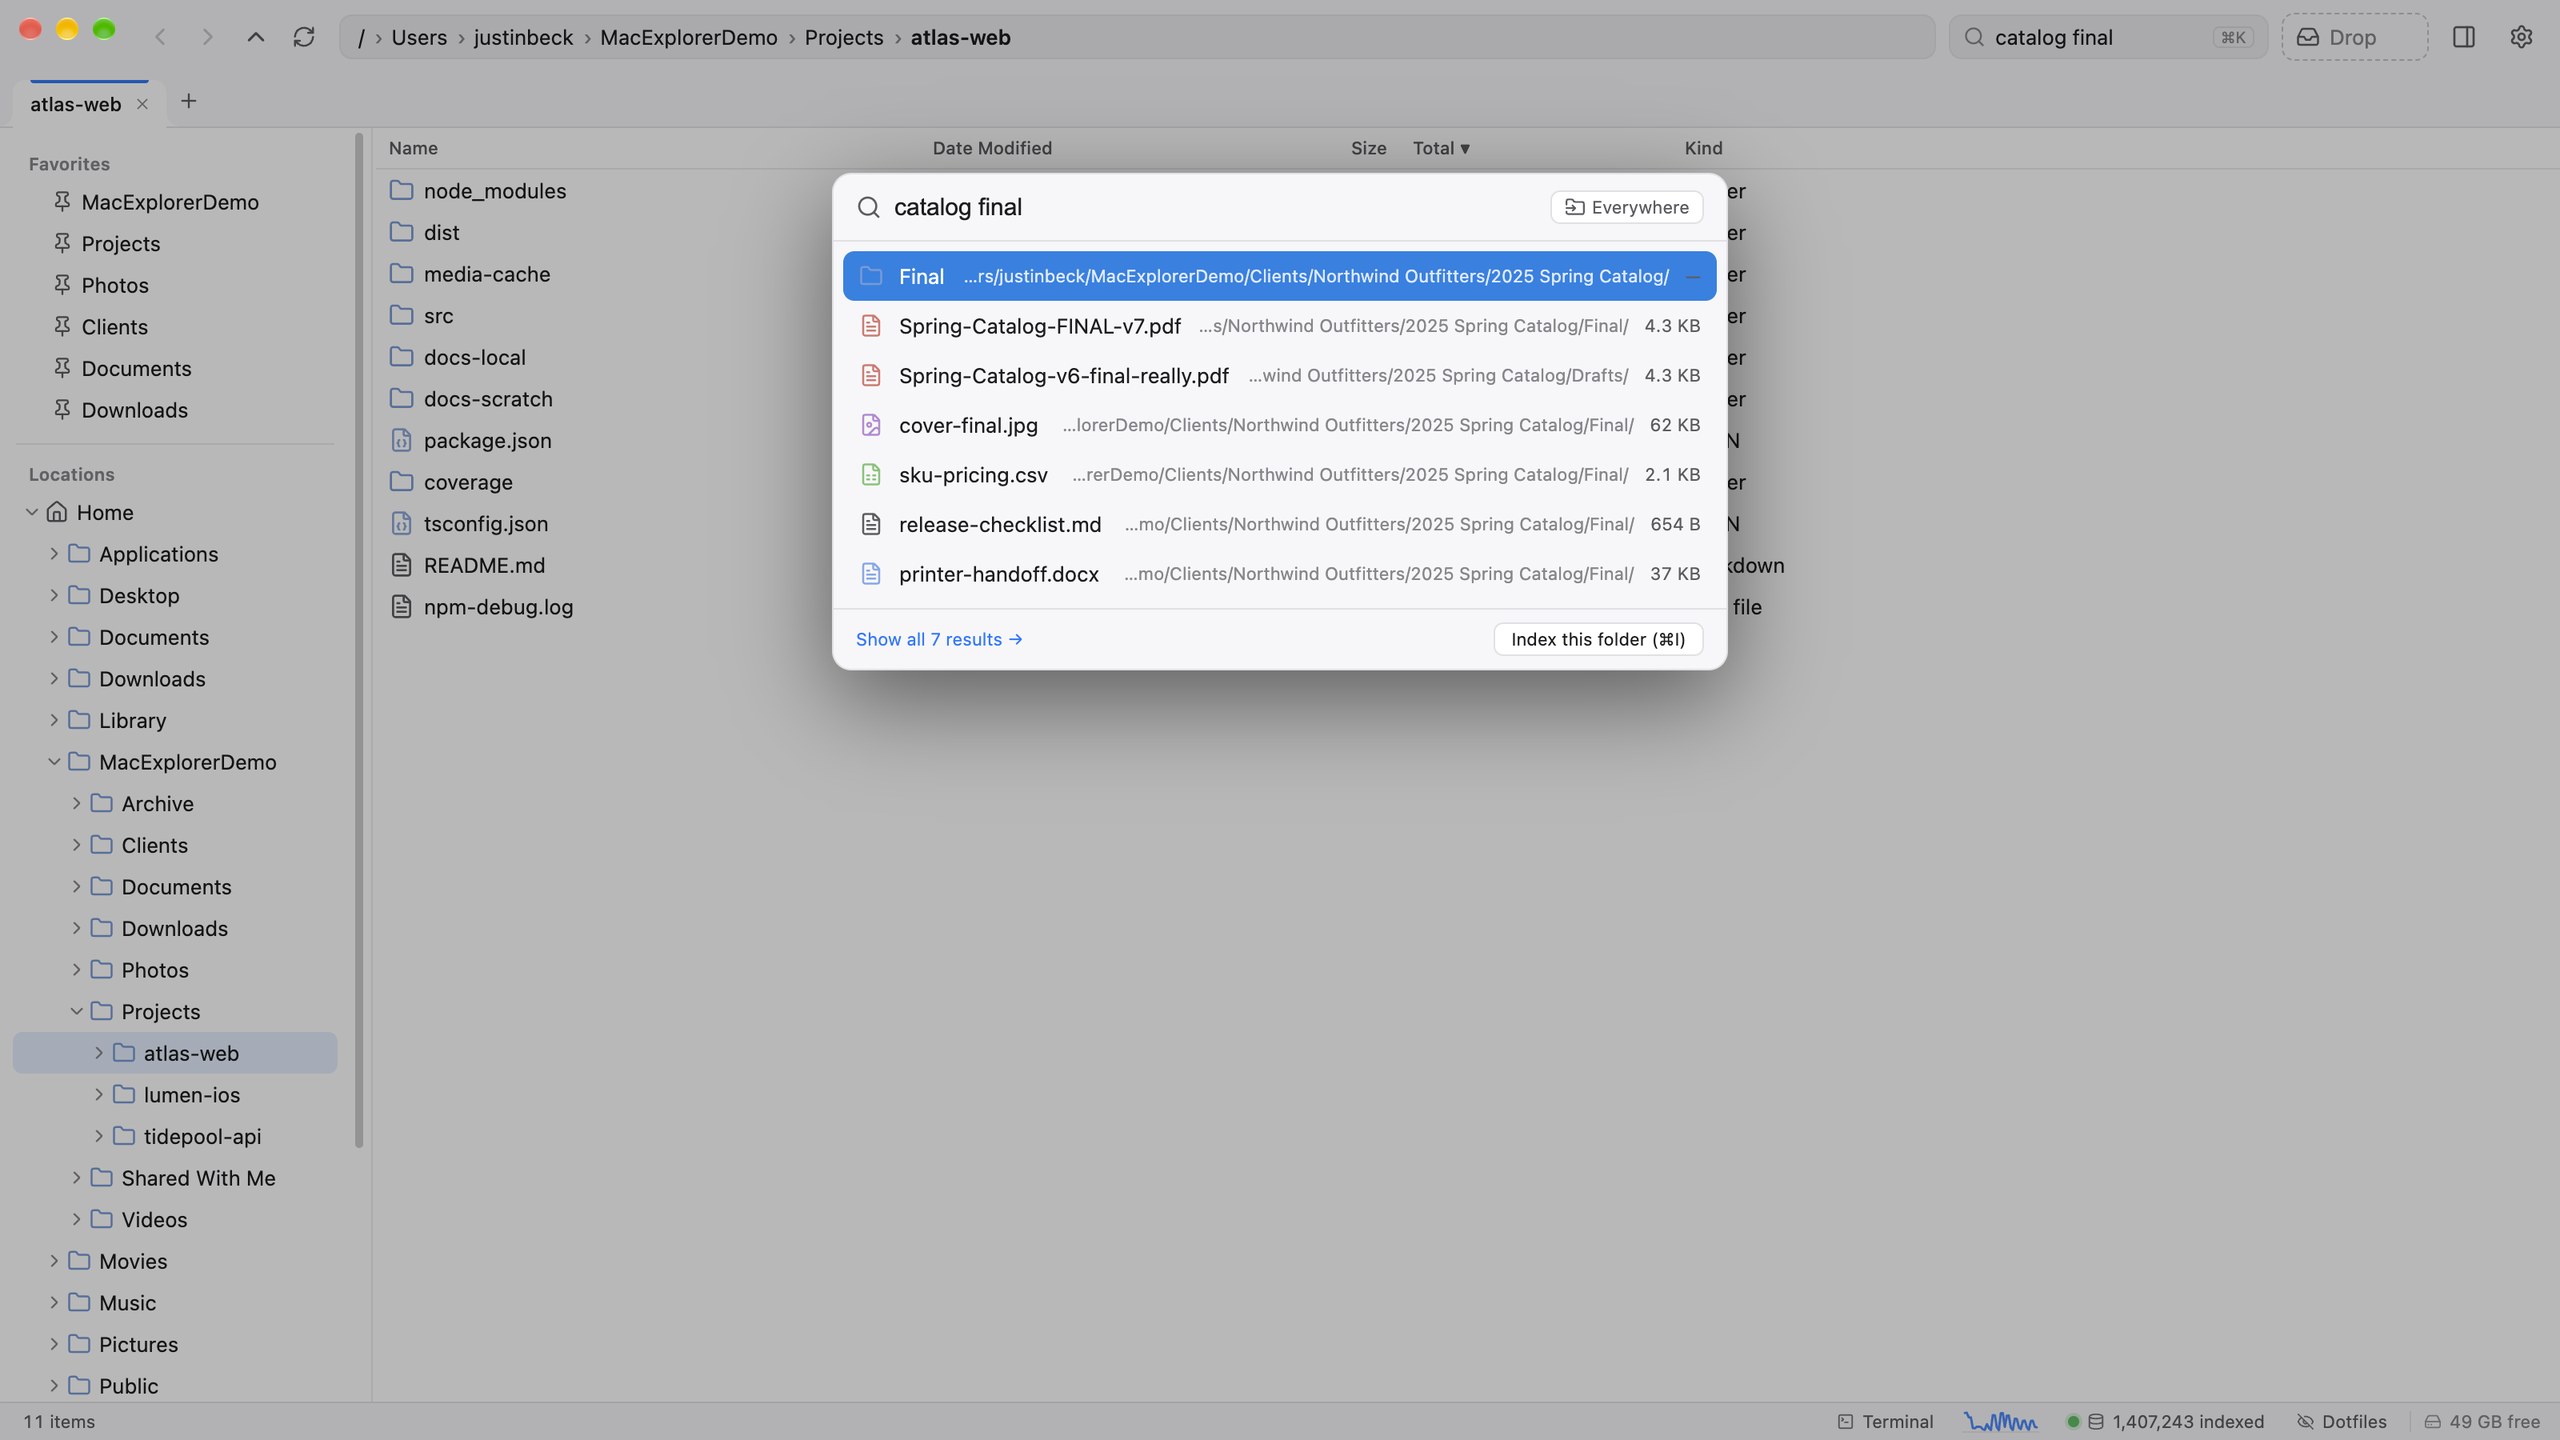
Press ⌘K anywhere in the app, or click Search files in the toolbar, and start typing. Results update as you type: the top 100 matches with their icon, folder and size.
| Keys | Action |
|---|---|
| ↑ ↓ | Move through results |
| ↩ | Open: a folder opens; a file opens its folder with the file selected |
| ⌘↩ | Show every result on a full results page |
| ⌘I | Index the current folder, then search again |
| esc | Close |
The This folder / Everywhere toggle limits results to the folder you’re in, or searches the whole index.
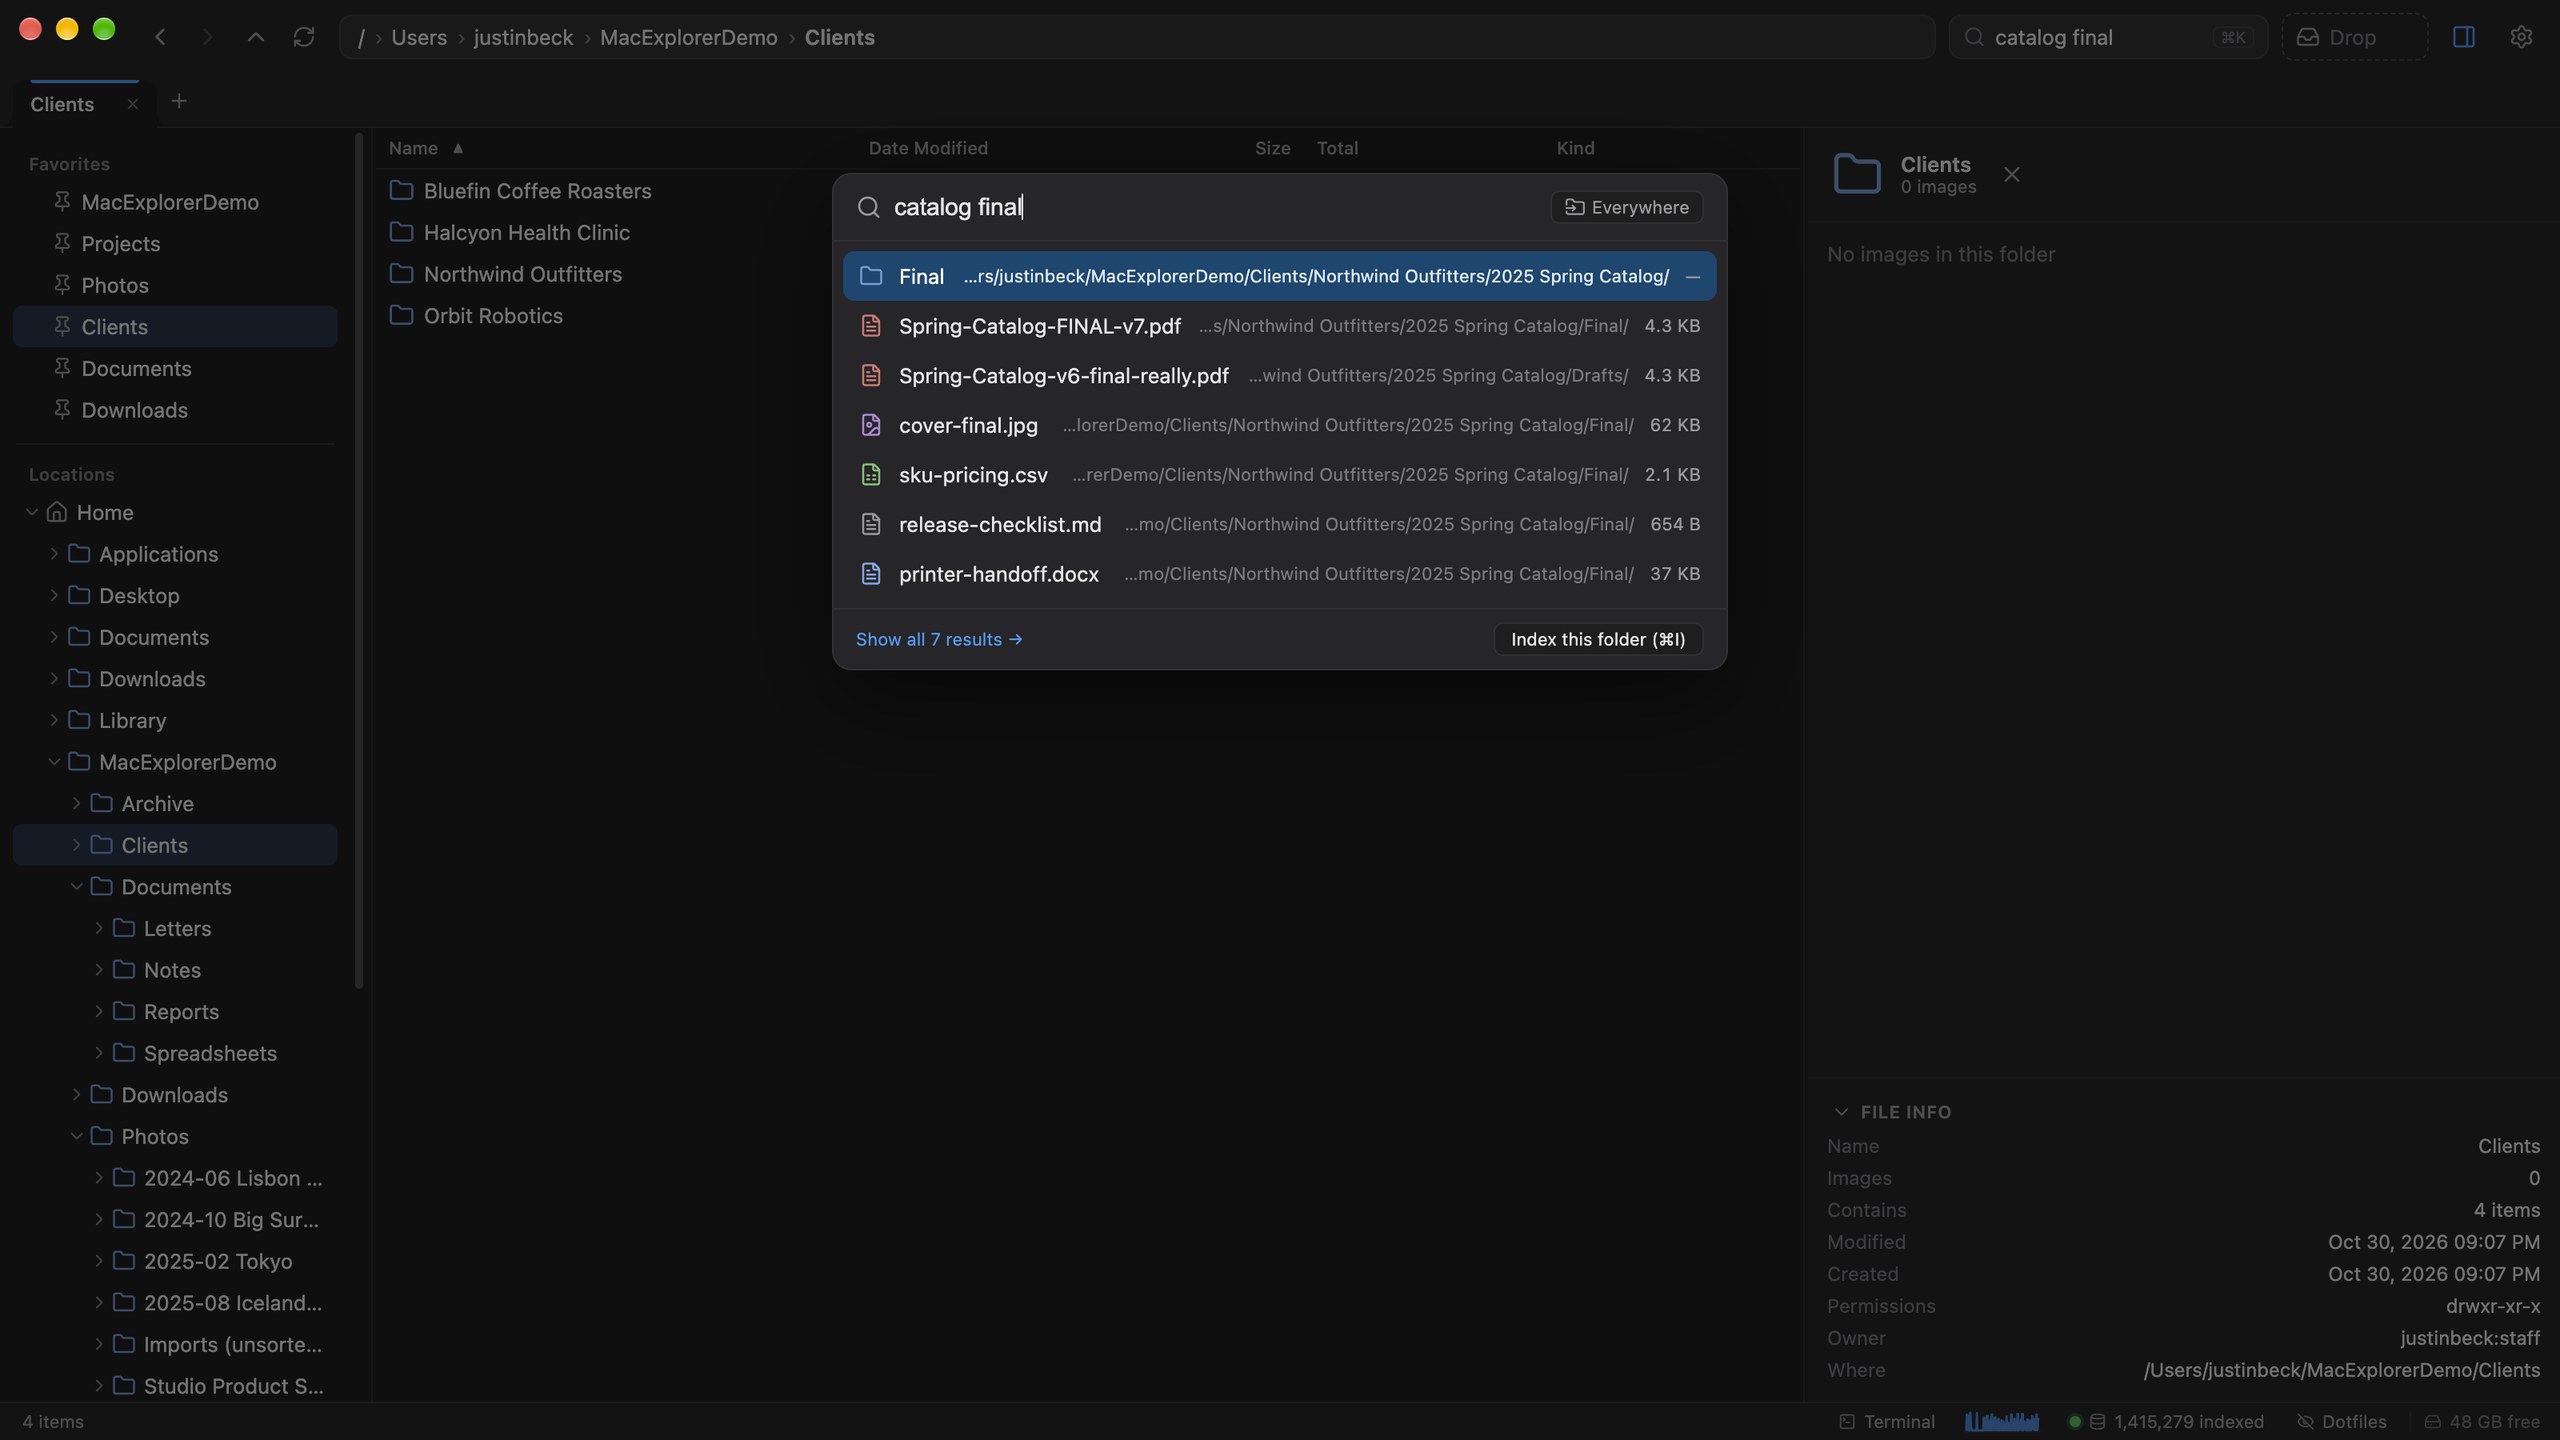
The full results page
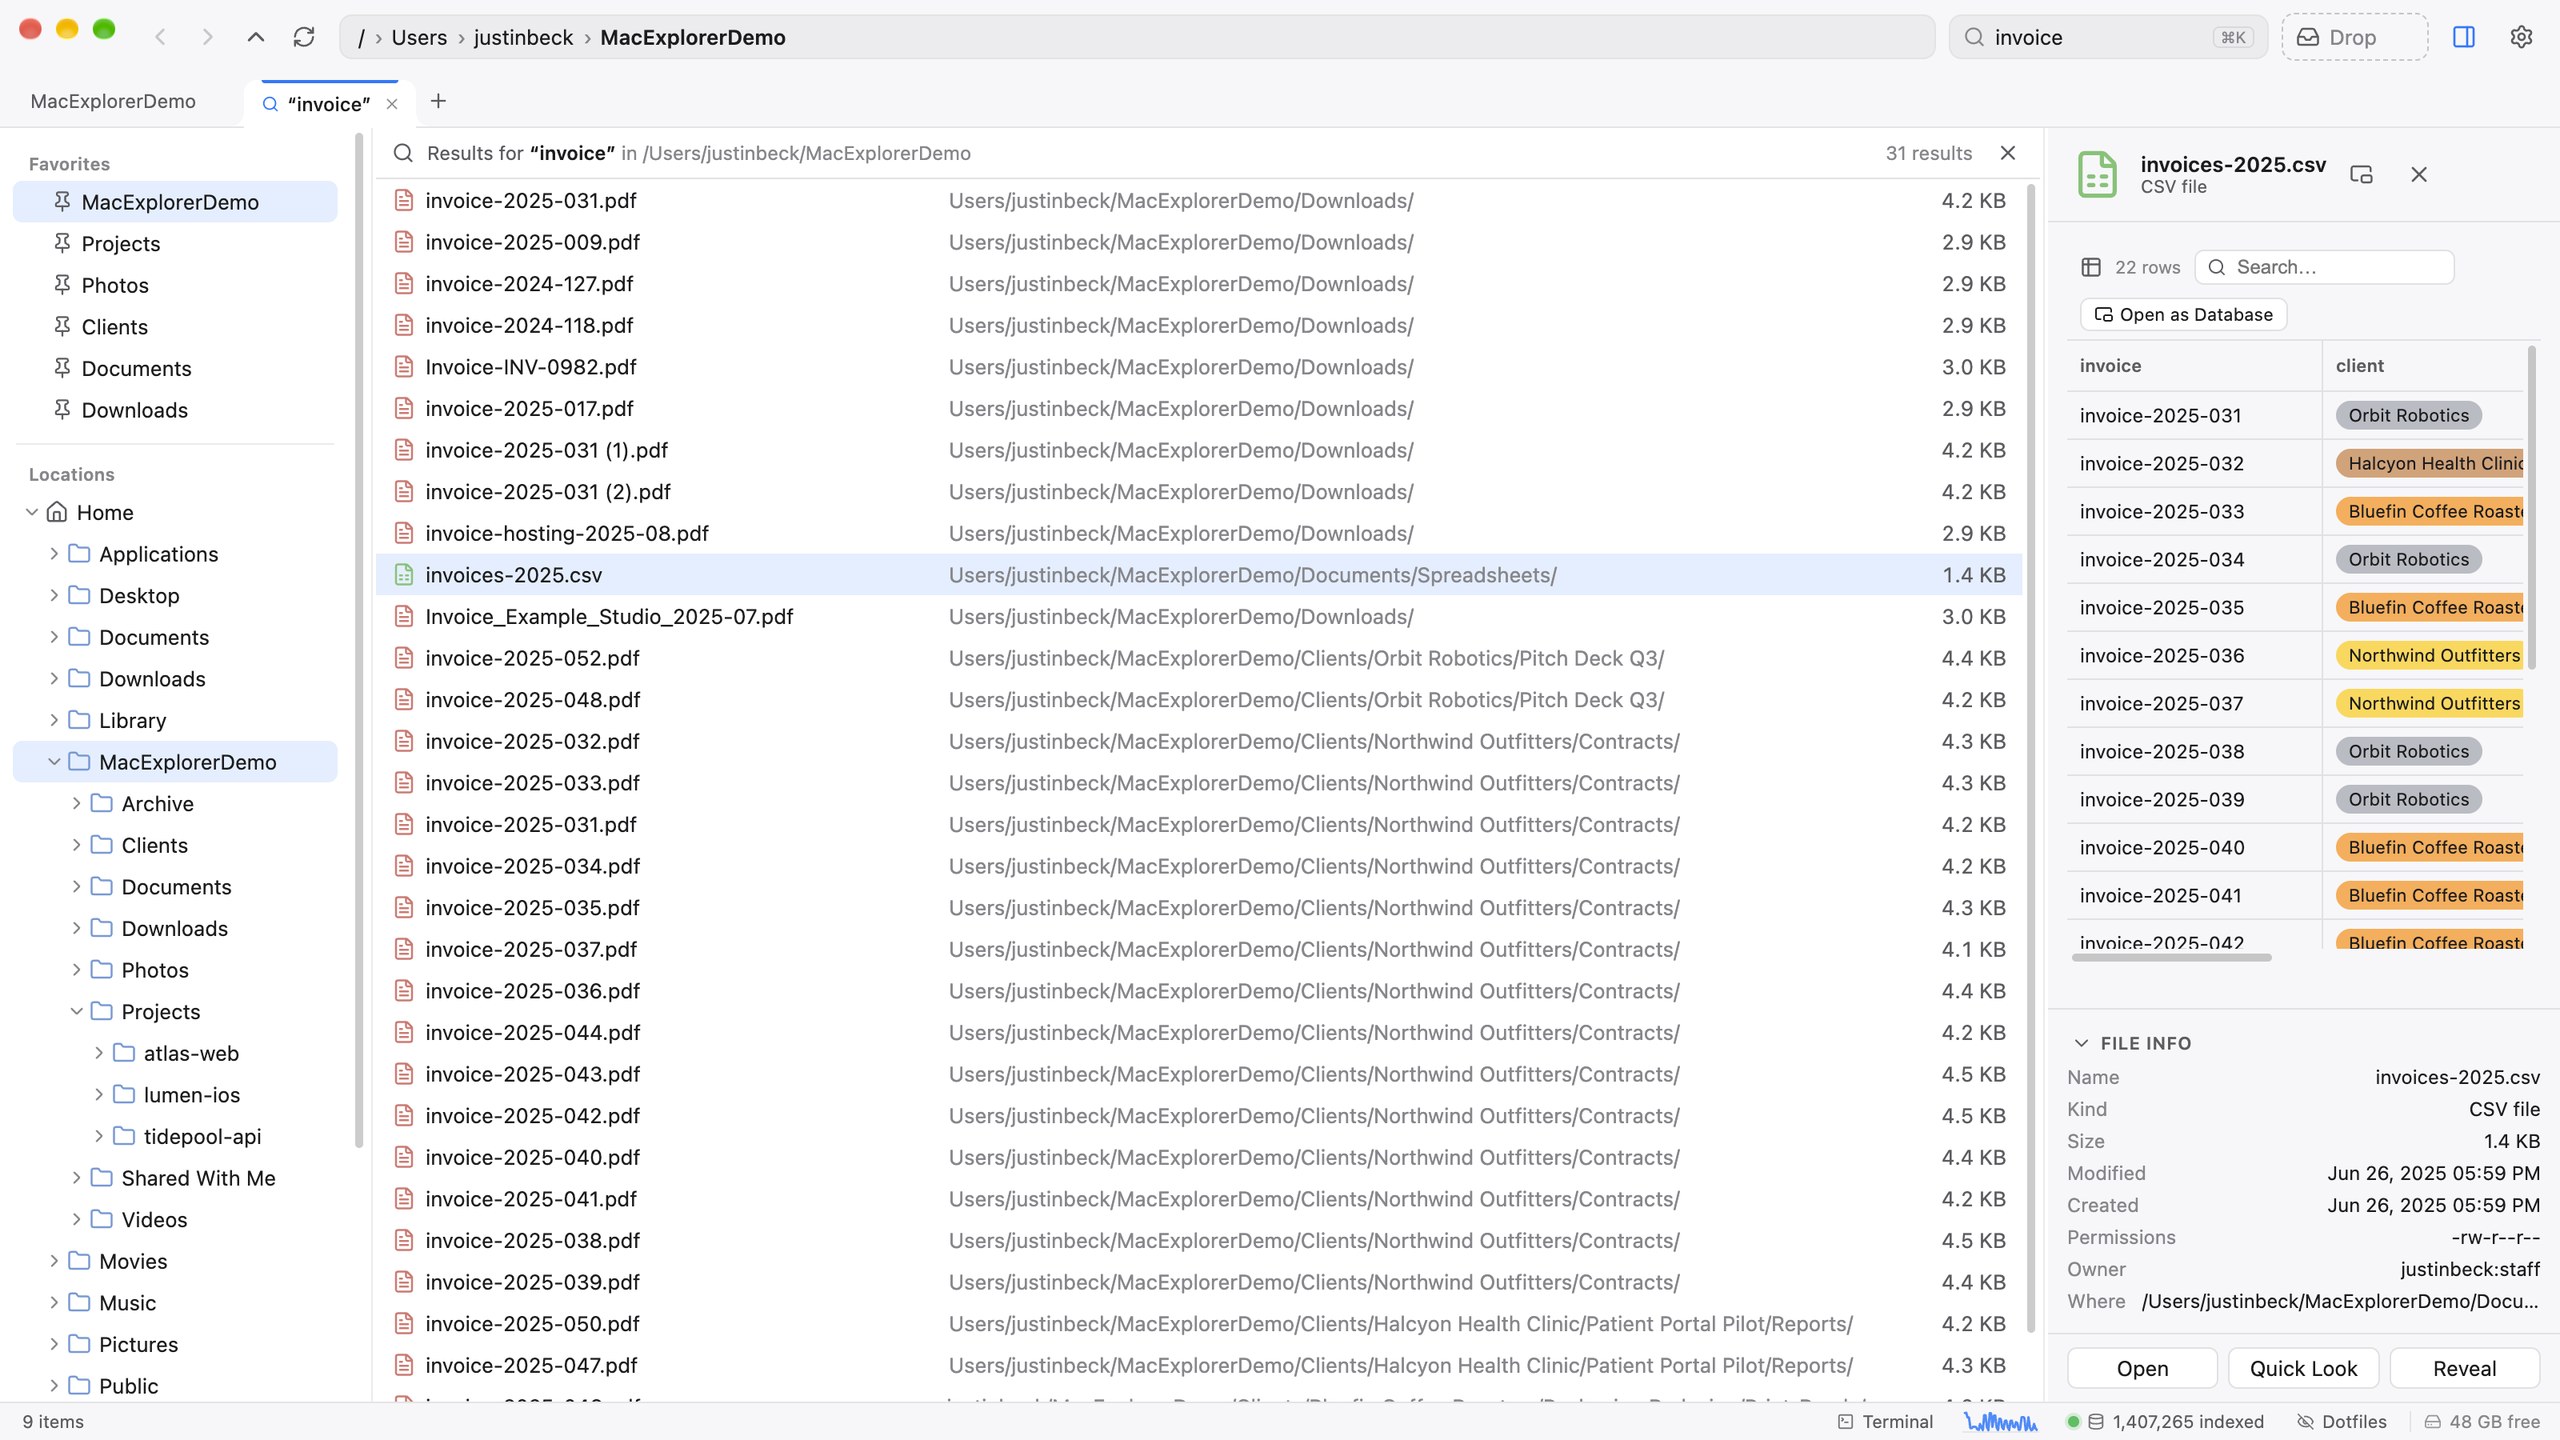
Press ⌘↩ in the palette, or click Show all N results →, to open up to 1,000 matches as a tab in the main pane. Arrow through them and Quick View previews each one. You can drag results out, middle-click folders to open them in new tabs, and right-click for the usual menu. Search tabs come back after a relaunch like any other tab.
How results are ranked
Every word you type has to match somewhere in the path. Then:
- a match at the start of the name scores highest,
- a match anywhere in the name comes next,
- a match only in a parent folder’s name counts least,
- folders get a small boost, and shorter paths win ties.
Typing cat final finds Spring-Catalog-FINAL-v7.pdf before a file that merely lives in a folder called catalog.
What gets indexed
Mac Explorer indexes the folders you choose. The welcome flow suggests your Home folder, and you can add others any time in Settings ▸ Search Index ▸ Add folder… or from the palette with Index Current Folder for Search. It never indexes the whole disk.
Three tiers
Not everything in a folder deserves a search result. The index sorts content into three tiers:
| Tier | What | In search? |
|---|---|---|
| 1 · Normal | Your documents, source code and everything else | Yes, ranked first |
| 2 · Gitignored content | Gitignored files that aren’t build output: media, data files, local databases | Yes, ranked lower |
| 3 · Size only | Build, dependency, cache and version-control folders anywhere (node_modules, .git, build, dist, cache, .venv, Pods and about 80 similar names); coding-agent and git worktrees (duplicate checkouts); the dot-folders directly in your Home folder (~/.npm, ~/.config …); app data in ~/Library (iCloud Drive and cloud folders under ~/Library/CloudStorage are indexed); folders with more than 50,000 items; gitignored folders with more than 20,000 files | No, but their sizes still count everywhere |
That’s why a search for index doesn’t drown in thousands of node_modules/**/index.js files, while the Total column still shows how much space those folders really take.
Changing what’s skipped. Click Settings ▸ Search Index ▸ Edit ignore rules to open your own rules file. It uses gitignore syntax. Add a line such as Downloads/datasets/ to skip a folder, or !~/.config to index a folder the defaults skip. Your changes apply at the next re-index. In the terminal, macx why <path> tells you which rule decided a path, and macx rules lists them all.
Keeping the index fresh
With Live indexing on (Settings ▸ Search Index), Mac Explorer watches your indexed folders and updates the index as files change. It doesn’t re-scan everything. Every location is also refreshed when it’s more than six hours old, and a reconcile runs when the Mac is idle.
Duplicates and photo metadata
Two optional extras build on the index:
- Duplicate detection: Mac Explorer hashes files that could be duplicates (same size) so it can tell for certain.
- Photo metadata: Analyze images reads EXIF and GPS data (dimensions, date taken, location, camera, lens, ISO, aperture, exposure, focal length, keywords). Quick View and Get Info show it, and the CLI can query it.
Turn on Keep dedup hashes & image metadata up to date in Settings ▸ Search Index to maintain both automatically.
Search Index settings
⌘, ▸ Search Index (or click the index chip in the status bar) shows what the index is doing and what’s in it:
- engine status and progress
- counts: files, total size, folders, images analysed, images with GPS
- Add folder…, Index current folder, Analyze images, Reindex all
- each indexed location, with re-index and remove buttons
- preview-cache sizes, with a button to clear them
- an activity log, and Folders with Extensive Children (folders kept size-only because they’re huge)
- Copy diagnostics and Retry engine for when something’s wrong
The engine restarts itself if it stops responding, and repairs its own dependencies if they go missing.
The load monitor
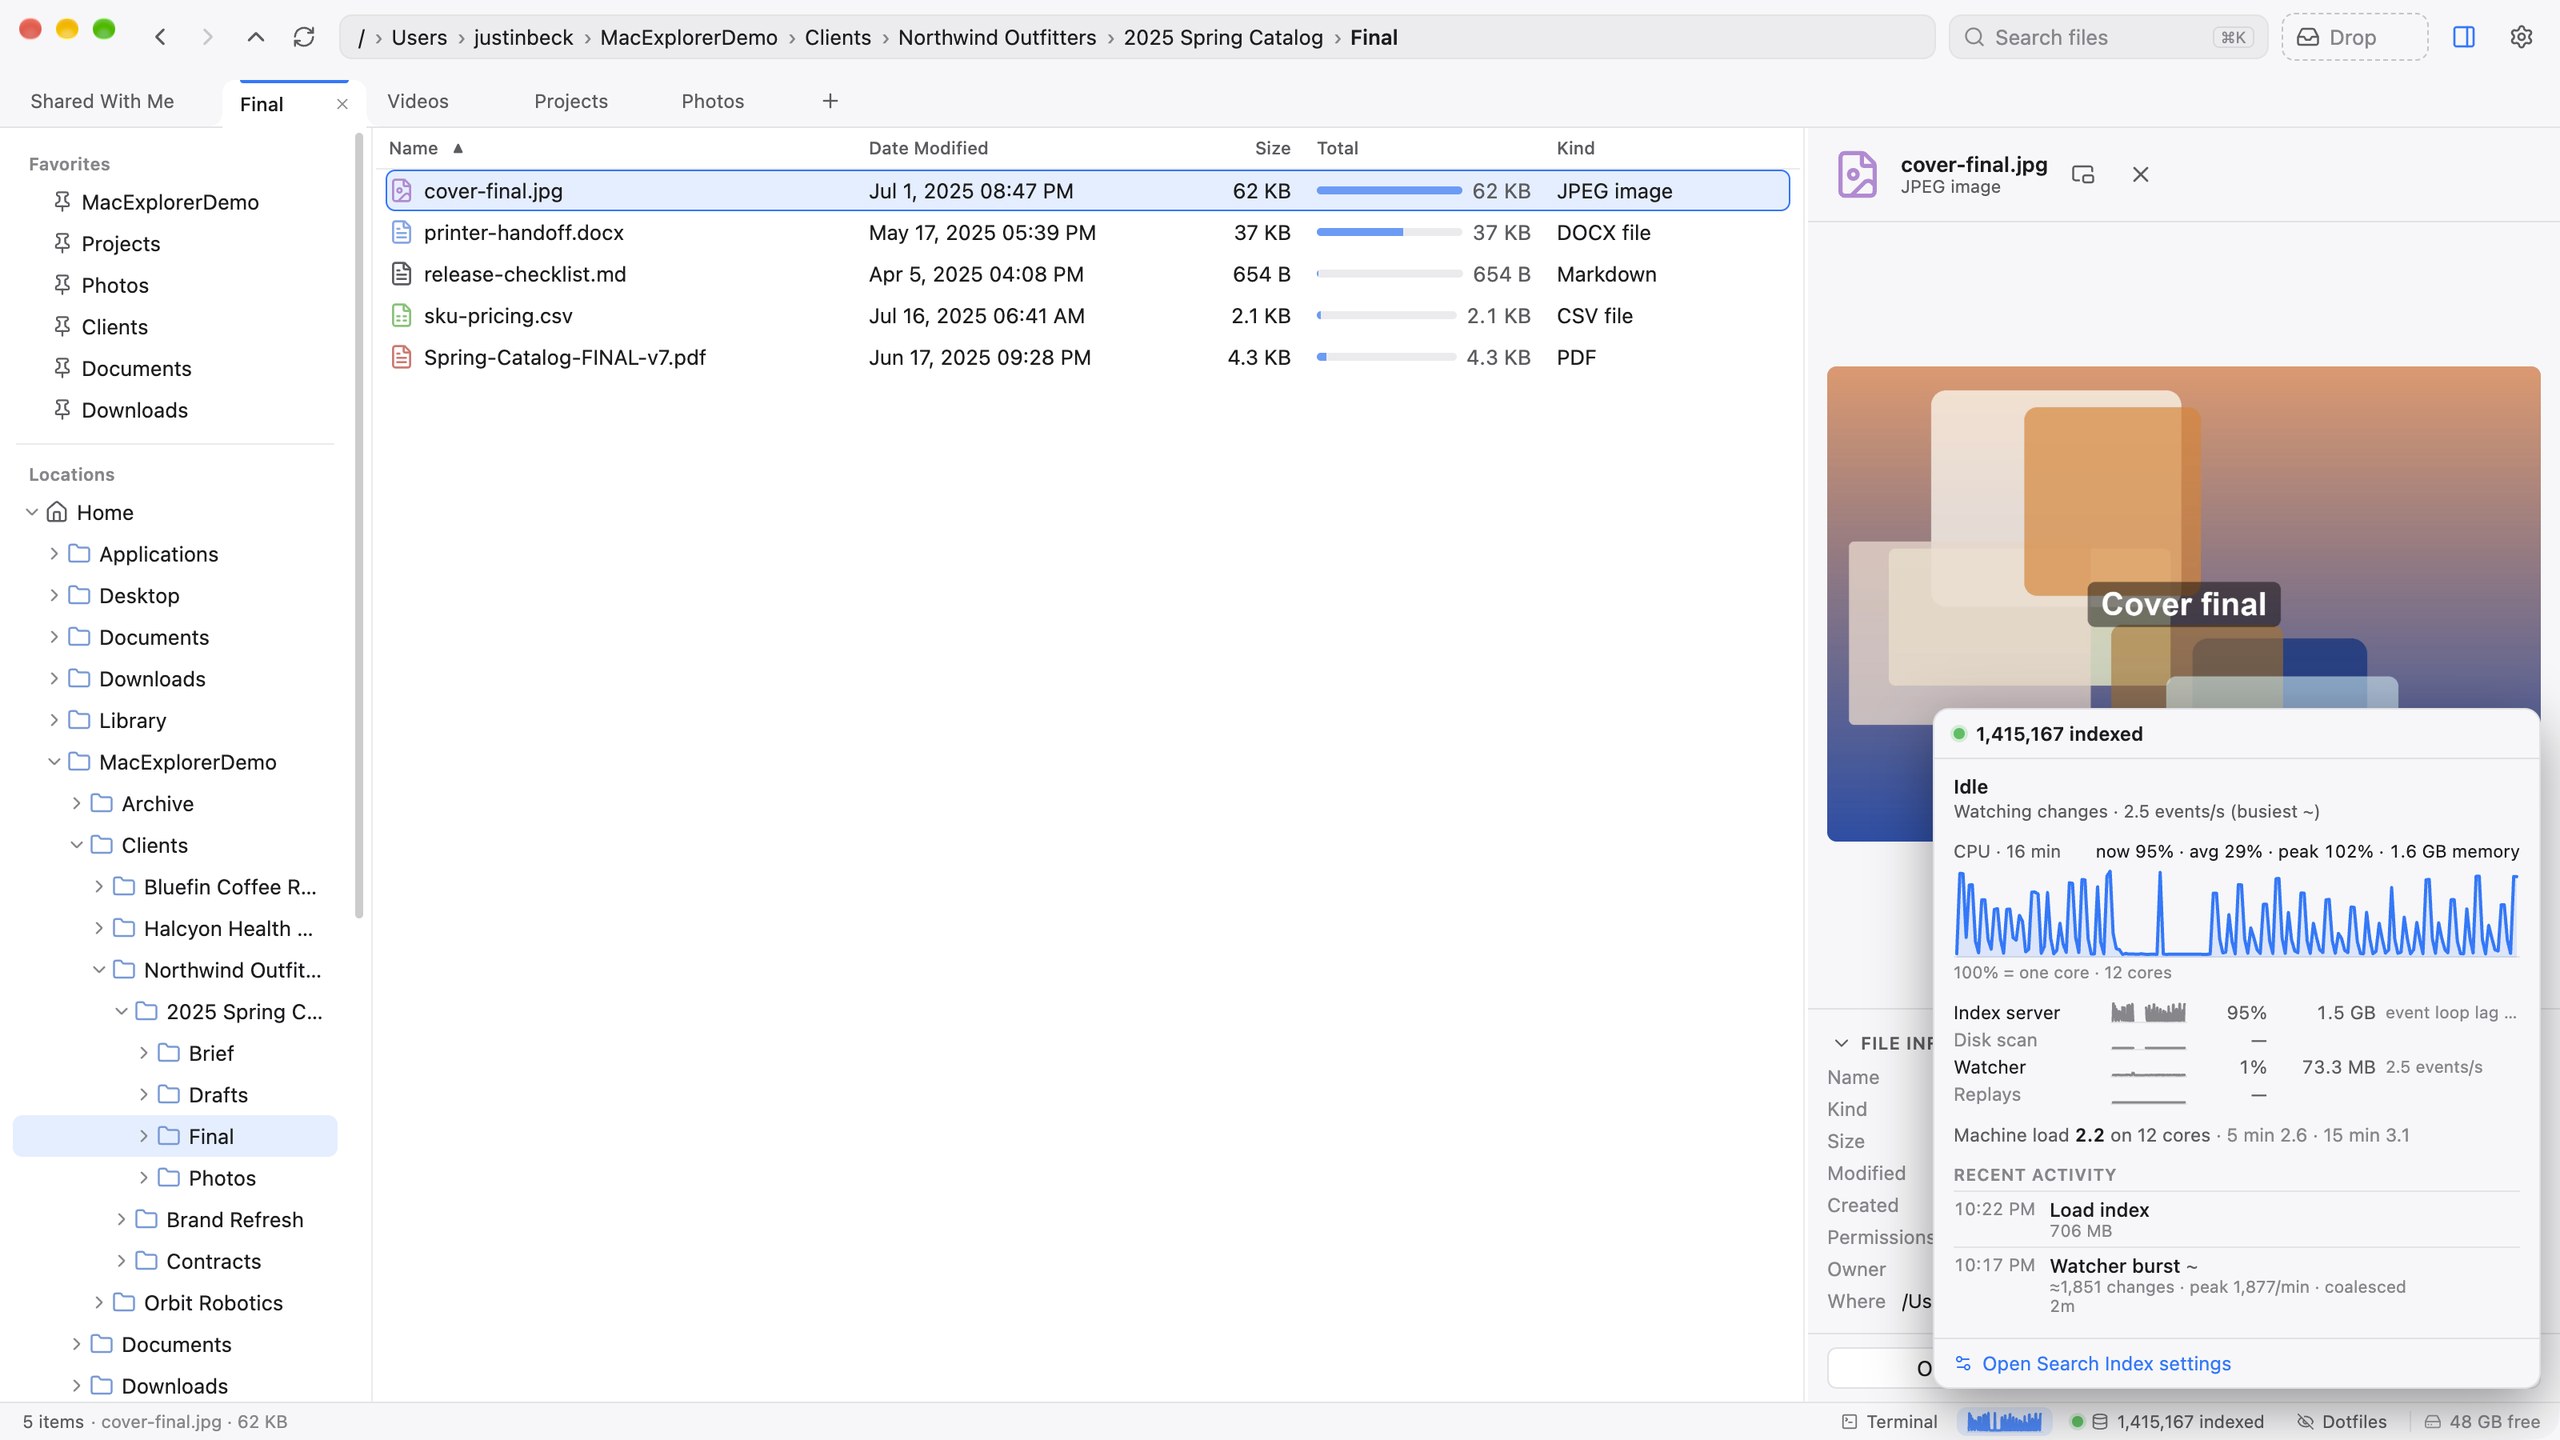
The sparkline in the status bar is the indexer’s CPU use over the last 15 minutes (100% means one full core). Click it for details: the running job, its folder, files per second and progress, a larger CPU chart with average and peak, memory, the machine’s load average, and the last 20 jobs.
Background work is polite. Automatic jobs, such as the idle re-scan and the daily disk measurement, wait while your Mac is busy or running on battery, and the disk scan runs at low priority. Anything you start yourself runs right away.